
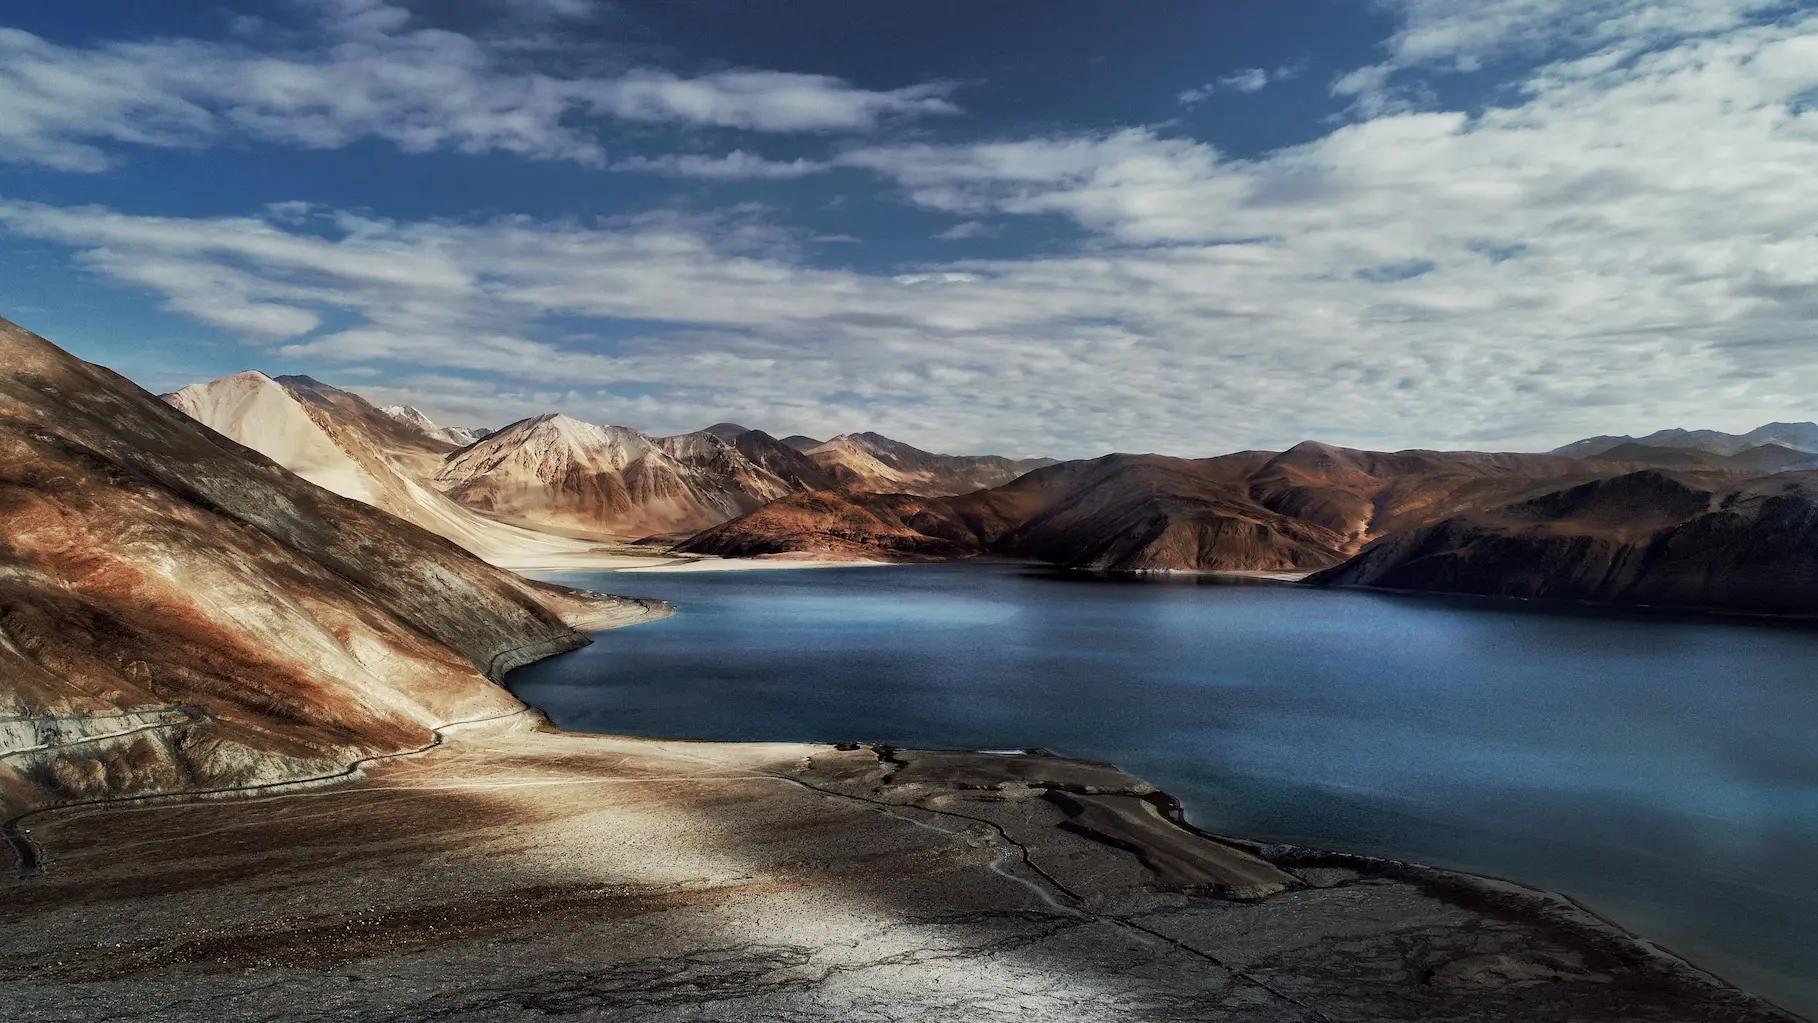

Komal
Writer
Updated On - Aug 19, 2026
25 min
Published On - Jul 14, 2026
Leh Ladakh Photography Tour — Astro and Landscape Complete Planning Guide
Where to be, when to be there, what settings to use, and what you will see when you get it right. From the Milky Way reflected in Pangong Tso at midnight to Thiksey Monastery in the first light of a June morning, this is the guide that turns a Ladakh trip into a photography trip.
Ladakh is one of the world's most spectacular destinations for landscape and astrophotography. This comprehensive Photography Tour Guide 2026 covers the best seasons, photography locations, camera settings, astrophotography techniques, and travel planning essentials. From the golden sunrise at Thiksey Monastery and reflections at Pangong Tso to Milky Way photography in Hanle Dark Sky Reserve, this guide helps photographers capture Ladakh at its absolute best.
Why Ladakh is different for photographers
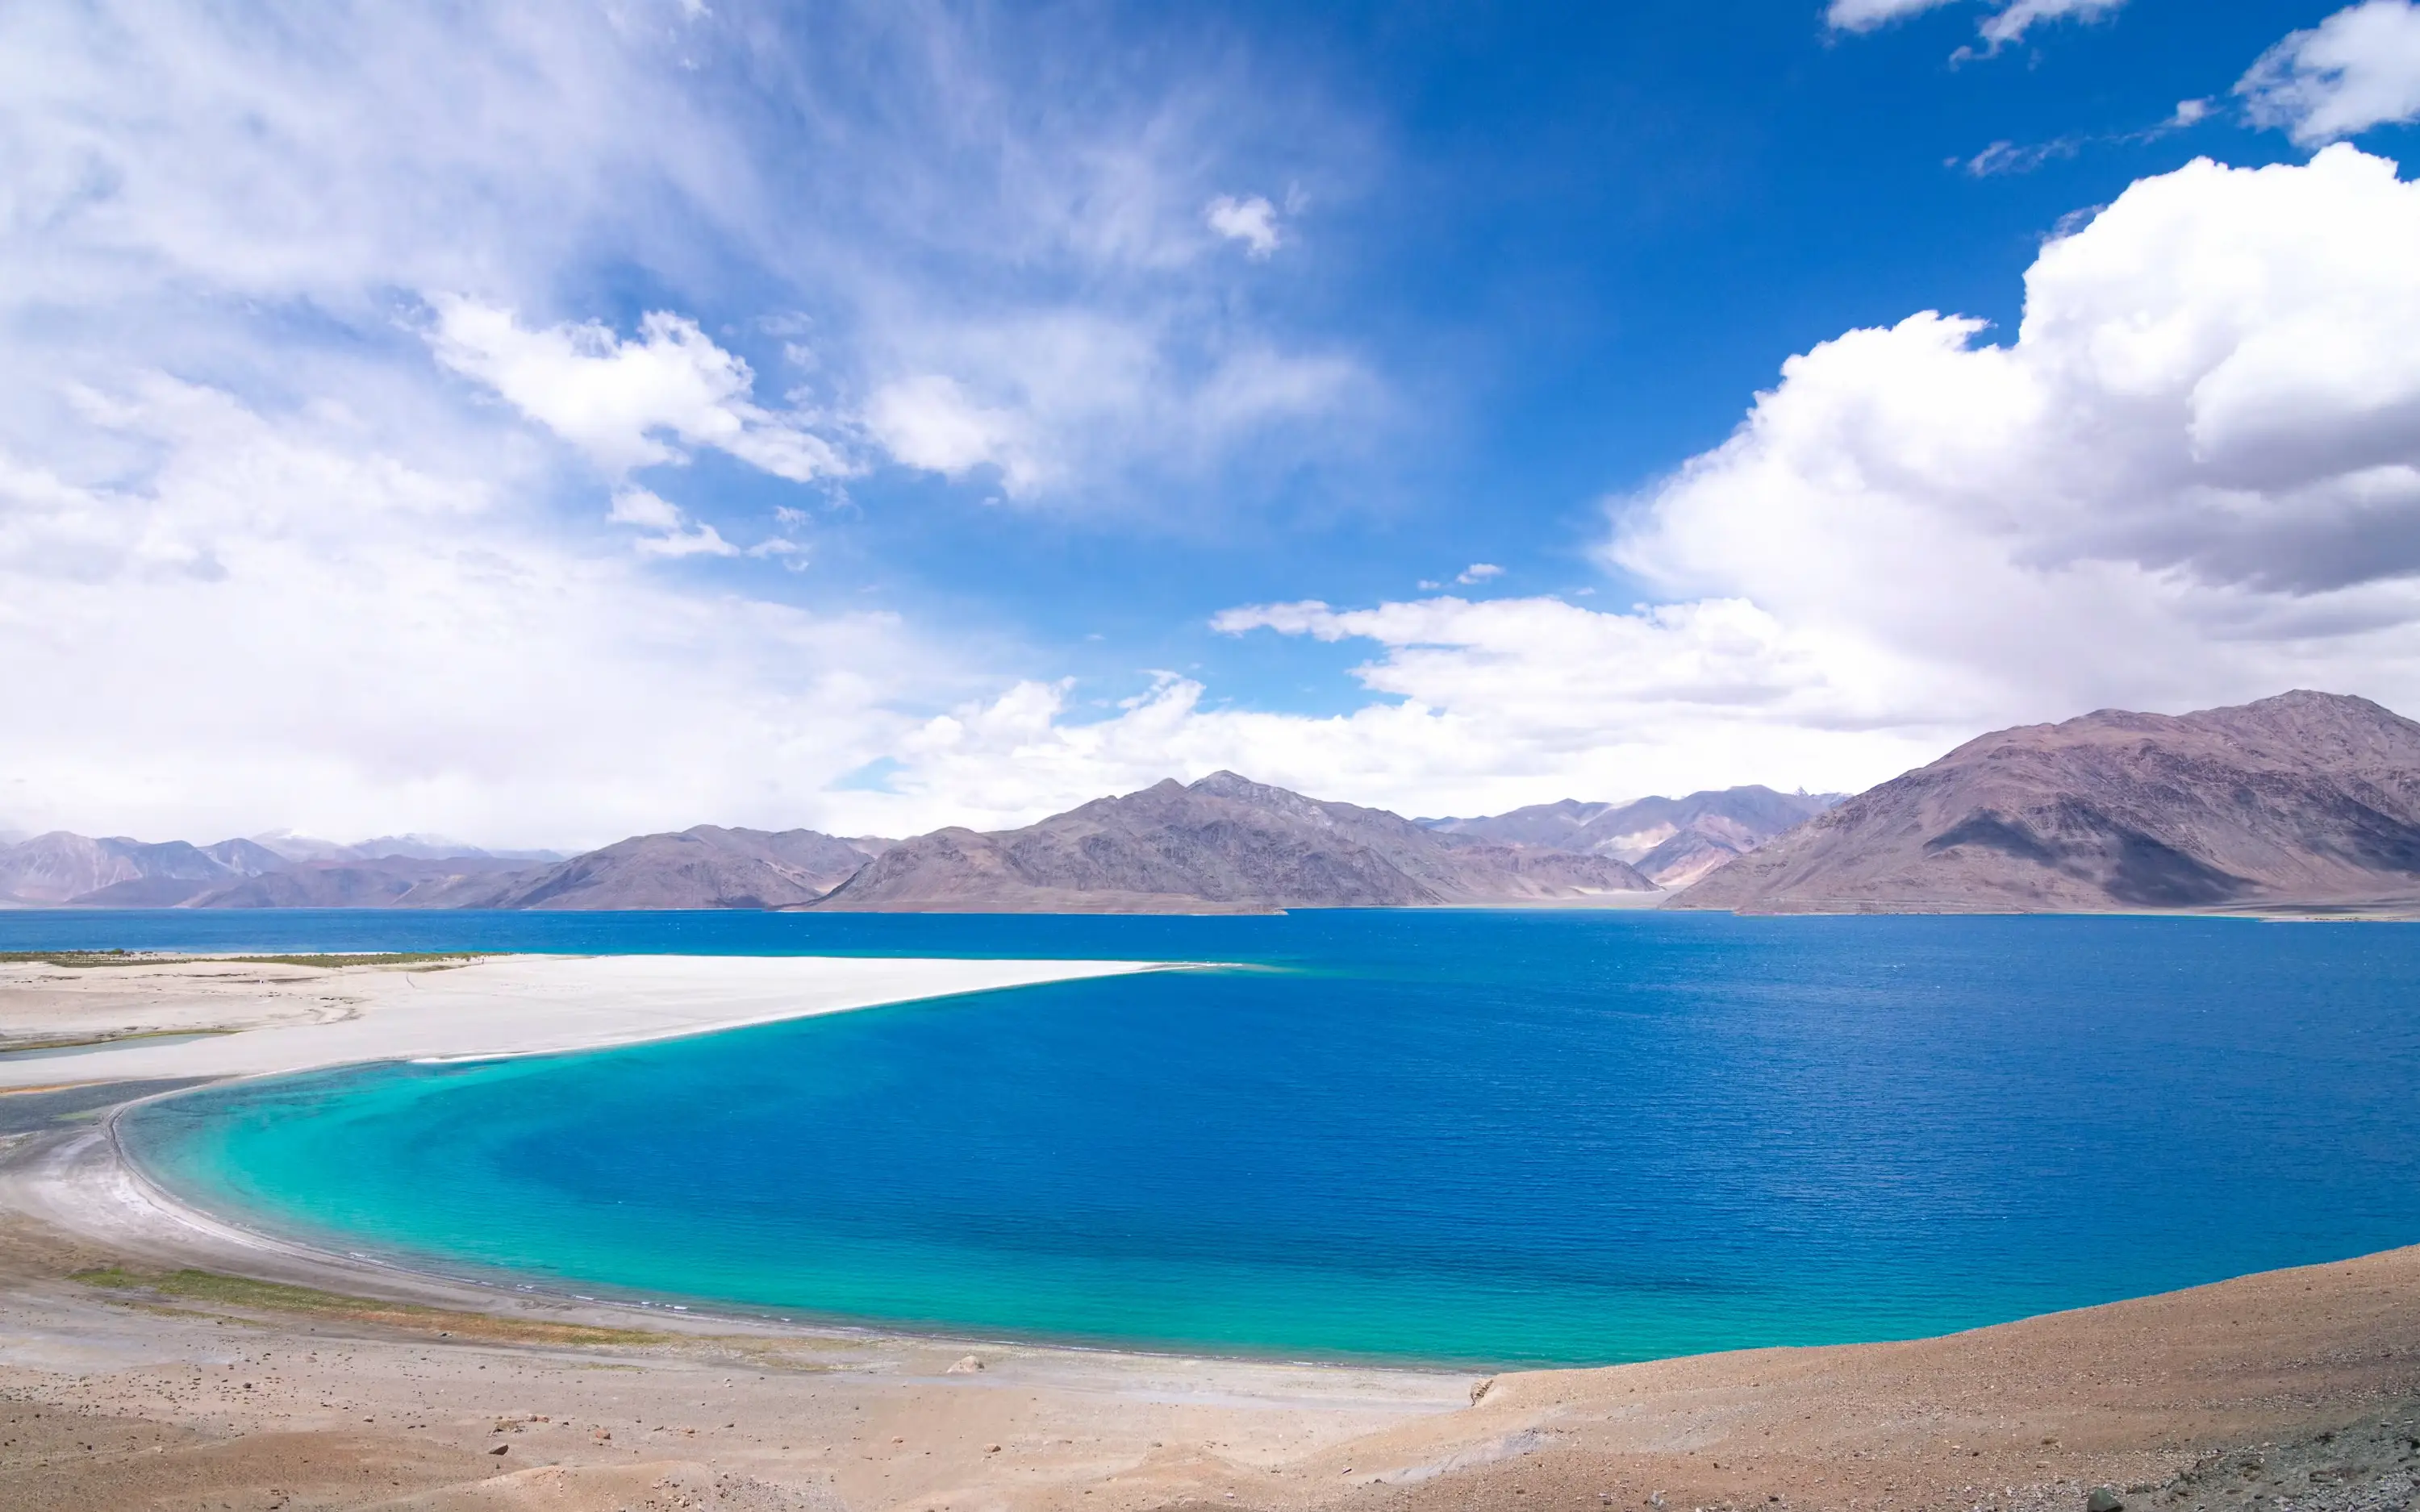
I have photographed in many places. Ladakh is different in a way I didn't fully understand until I was standing outside a homestay in Hanle at 1 AM, looking at a sky so dense with stars it seemed like it might topple sideways under its own weight.
The physics are straightforward. Ladakh sits at an average altitude of 3,500 metres. Half the atmosphere — and most of its moisture, dust, and light-scattering particles — is below you. At Hanle, where the Indian Astronomical Observatory sits at 4,500 metres, the condition is even more extreme. The Indian Institute of Astrophysics built one of their primary telescopes there for a reason: the site is one of the clearest on earth for optical astronomy. India's first designated Dark Sky Reserve was declared at Hanle in 2022. When India's national astronomy body says a place is special for looking at the sky, photographers should listen.
But it's not just the sky. The landscape itself does things that most photographers don't anticipate. The light at altitude is 40% more intense than at sea level — thinner atmosphere means less diffusion. The colours are saturated without effort. The reflections on Pangong Tso at dawn, when the lake is still and the first light hits the Karakoram, are the sort of thing that looks like you've run the image through Lightroom when you haven't. The monasteries, the passes, the sand dunes in Nubra with the Karakoram behind them — every element performs at altitude.
The challenge is planning. You can't be in the wrong place at the right time and come back tomorrow. Thiksey Monastery faces east — the dawn shoot only works once per morning. The Milky Way core is only above the horizon from April to September. The moon phase either helps you or kills your astrophotography plans entirely. And the altitude creates gear challenges — batteries dying in the cold, condensation on lenses when you move between temperatures, dust on sensors from the roads — that need preparation rather than improvisation.
This guide covers all of it. Every major photography location with exact timing, every camera setting for the conditions you'll actually encounter, and every gear consideration that matters when you're at 4,500 metres with no camera shop within 250 kilometres.
| FACT | DETAIL |
|---|---|
|
Best months for landscape photography |
September–October (golden light, thin crowds, autumn colour) |
|
Best months for astrophotography |
June–September (Milky Way galactic core highest); new moon nights only |
|
Hanle Dark Sky Reserve (DSR) |
India's first DSR (2022); Bortle Class 1; ~270 clear nights/year; Indian Astronomical Observatory at 4,500m |
|
Galactic core visibility window |
April–September from Ladakh; June–July = core highest in sky (best composition) |
|
Leh sunrise (mid-June) |
~5:08 AM; golden hour lasts 45–60 min; Thiksey faces east — be there by 6 AM |
|
Leh sunset (mid-June) |
~7:36 PM; longest day ~14 hrs 26 min of daylight |
|
Pangong Tso altitude |
4,350 m; no light pollution; Milky Way reflection in still water |
|
Tso Moriri altitude |
4,522 m; even less visited than Pangong; dark skies outstanding |
|
Hanle altitude |
4,500 m; half the atmosphere below you; IAO Himalayan Chandra Telescope (2.01m) |
|
Milky Way core direction |
Sagittarius (southeast); use Stellarium or PhotoPills to plan exact position |
|
Moon phase rule |
New moon nights ONLY for serious astrophotography; full moon bleaches even Bortle-1 skies |
|
500 Rule (star trails) |
500 ÷ focal length (mm) = max shutter seconds before trailing; e.g. 500÷14mm = 35 sec |
|
Recommended aperture (astro) |
/1.4 to f/2.8 — collect maximum light; f/4 requires higher ISO compensation |
|
Recommended ISO (astro) |
Start at ISO 3200; can push to ISO 6400 on modern full-frame sensors; always shoot RAW |
|
Battery warning |
Cold + altitude drains batteries 30–40% faster; carry minimum 4 spare batteries per body |
|
Condensation rule |
Seal cold camera in ziplock bag before entering warm room; allow 30 min acclimatisation |
|
Dust rule |
Change lenses ONLY inside vehicle or inside a large ziplock bag — never in open air |
|
EDF for protected areas |
₹400 + ₹20/day wildlife fee (Indians); print 5–6 copies; lahdclehpermit.in |
QUICK REFERENCE — LADAKH PHOTOGRAPHY 2026
The Milky Way at Hanle is not a photographic achievement. It's a reminder. At Bortle Class 1, with half the atmosphere below you, you understand — viscerally, not intellectually — what the sky actually looks like. That's why photographers come back.
When to go — the honest season guide
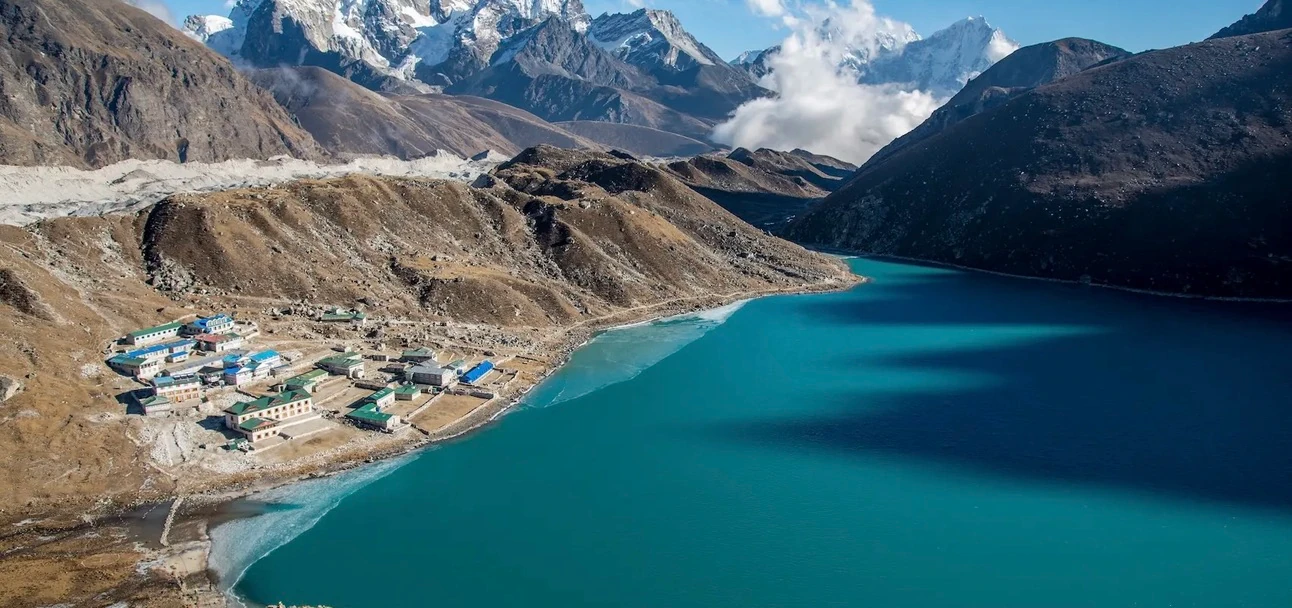
September is the best single month for photography in Ladakh, and it isn't particularly close.
The monsoon has washed the sky absolutely clean. The Milky Way core is still visible (it disappears from Ladakh's sky after September). The poplar trees along the Indus Valley and in the villages are turning gold. The crowds are a third of what they are in July. The accommodation is available without the stress of peak-season booking wars. And the light — the quality of the light in Ladakh in September is the kind of thing that makes experienced photographers set their alarm for 4:30 AM without complaint.
June and July are the months when the Milky Way core is highest in the sky — best composition, best clearance above the horizon, best for panoramas. They are also the busiest and most expensive months. If astrophotography is your primary reason for coming, plan around the moon phase rather than the month. A new moon night in August beats a full moon night in September for sky photography.
October is extraordinary for landscape photography — the autumn colour palette along the Indus is at its peak, the skies are the clearest of the year, and the Orionid meteor shower peaks in mid-October over some of the darkest skies on earth. The Milky Way galactic core has set by October, but star-field photography and meteor trail photography at Hanle in October are genuinely world-class.
One more note: winter photography in Ladakh — November through February — is for serious, experienced mountain travellers only. The rewards are extraordinary: snow-covered monasteries, the frozen Zanskar River (the Chadar Trek), and a silence that the summer months never quite produce. But temperatures of −20 to −30°C overnight, most passes closed, and nearly all camps and many guesthouses shuttered mean that winter requires specialist planning and specialist gear, not just an extra fleece.
| MONTH | LANDSCAPE | ASTROPHOTOGRAPHY | CULTURAL | CAUTIONS |
|---|---|---|---|---|
|
March–April |
Spring; snow on peaks; apricot blossoms in Nubra and Indus valley (March–April); very quiet |
Milky Way core not yet visible from Ladakh; clear star-field photography possible |
Monasteries accessible; few tourists |
Cold nights (−5 to 0°C); some high-altitude roads still closed; check Pangong and Nubra road status |
|
May |
Green valleys; clear skies; dramatic pass photography |
Milky Way core rising in the southeast; new moon windows from mid-May onward |
Hemis and other festivals may fall in this window; Ladakh Astro Tourism Festival (June) |
Busy weekends; accommodation books up fast in Leh |
|
June |
All locations open; lush high-altitude meadows; Zanskar emerald green |
PEAK MONTH for Milky Way core (highest in sky June–July); new moon nights extraordinary |
Hemis Festival (June/July); Ladakh Astro Tourism Festival (June 2025 inaugural) |
Busy; book camps 8 weeks ahead; some afternoon cloud builds on passes |
|
July |
Dramatic skies; occasional monsoon cloud edge; wildflowers at high altitude |
Milky Way core still excellent; occasional cloud from monsoon fringe can disrupt but also create dramatic sky |
Cultural access excellent; Diskit Festival possible |
Manali–Leh road occasionally blocked; Pangong accessible; some afternoon cloud |
|
August |
Warm; golden meadow; wildflowers peak; Pangong cobalt at its most intense |
Milky Way visible; cloud a minor risk |
All locations open |
Busiest month; Pangong camps very full; book 8+ weeks ahead |
|
September |
BEST OVERALL MONTH: golden poplar trees, clear post-monsoon skies, thinner crowds |
Milky Way still visible early September; skies extremely clear post-monsoon; October even clearer |
All festivals over but monasteries more accessible without crowds |
High passes may see early snow from mid-October |
|
October |
Autumn gold poplars along Indus Valley; snow dusting on peaks; extraordinary colour palette |
Hanle at its darkest and clearest; no Milky Way core but star-field photography and meteor showers (Orionids mid-October) |
Very quiet; monasteries accessible; monks more approachable without tour groups |
Pangong road may close late October; Nubra accessible; Hanle road check recommended |
|
November–February |
Snow; frozen lakes; Chadar (frozen Zanskar River) trek in January–February |
Winter Milky Way (not galactic core); aurora possible in extreme solar events; star trails spectacular |
Very few tourists; intimate monastery access |
Extreme cold (−20 to −30°C nights); most passes and camps closed; Hanle may be inaccessible; specialists only |
SEASON-BY-SEASON GUIDE — LANDSCAPE AND ASTROPHOTOGRAPHY
The best photography locations — with exact timing
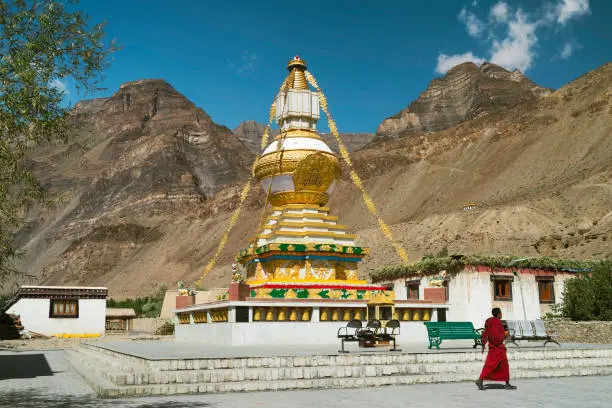
Most photography guides about Ladakh tell you to 'go to Pangong Lake for beautiful photographs.' What they don't tell you is where to stand, at what time, with what in the foreground, and why the afternoon shot is almost never the one worth having. Here is the location guide that actually answers those questions.
| LOCATION | TYPE | ALTITUDE | BEST TIME | BEST SHOT | PRO TIPS |
|---|---|---|---|---|---|
|
Thiksey Monastery |
Architecture / monastery |
3,600 m |
6:00–7:30 AM (faces east — catches first light perfectly) |
12-storey stepped monastery rising from the Indus Valley; monks at morning prayer with incense smoke in golden light |
Be there before 6 AM; shoot from road below for full elevation; 300mm for monks on upper terraces; shoot interior with fast f/1.8 prime in RAW |
|
Pangong Tso |
Landscape / astro |
4,350 m |
Dawn 5:30–6:30 AM; midnight–3 AM for Milky Way |
Mirror reflection of peaks at dawn; Milky Way arching over the lake at night |
Stay at Man/Merak (farther from camp generator light than Spangmik); wind drops at midnight for perfect reflections; ND grad filter for dawn; foreground rock or camp rope for night composition |
|
Hunder Sand Dunes (Nubra) |
Landscape / wildlife |
3,048 m |
Golden hour 6:00–7:30 PM; also dawn 5:15–6:00 AM |
Bactrian camels against Karakoram Range backdrop; Shyok River blue ribbon cutting through gold |
Late afternoon light rakes the dunes; shoot camels low and wide (16–24mm) for scale; monochrome conversion of dune patterns works extremely well |
|
Lamayuru Moonland |
Landscape / architecture |
3,510 m |
11:00 AM–2:00 PM for moonland clay; dawn for monastery |
Otherworldly eroded clay formations — one of only a few Ladakh locations where harsh midday light HELPS, revealing ridge textures and shadows |
Midday sun creates the dramatic shadows in clay; use 50–100mm telephoto to isolate patterns; monastery itself photographed best at golden hour with moonland foreground |
|
Hanle (Dark Sky Reserve) |
Astrophotography / landscape |
4,500 m |
New moon nights year-round; October for clearest conditions |
Milky Way with Hanle Monastery silhouette; galactic core over the Changthang plateau; IAO telescope dome in foreground |
Book Astronomy Ambassador (IIA-trained) through homestay; no artificial lights permitted near DSR; use red-mode headlamp only; plan for wind — Changthang plateau is exposed |
|
Tso Moriri |
Landscape / astro / wildlife |
4,522 m |
Dawn 5:00–6:00 AM; midnight for astro |
Dawn reflection of Korzok glacier in still water; flamingos at dawn; Black-necked cranes October |
Fewer visitors than Pangong = cleaner foregrounds; kiangs (wild asses) often visible at dawn on the lake shore; no camp generator noise if staying in village homestay |
|
Stok Kangri Base Camp |
Landscape / astro / wide sky |
4,900 m–5,200 m |
Overnight with guide; best June–September |
Stars above a glacier cirque; wide-angle sky with no horizon obstruction; mountaineering foreground |
Requires acclimatisation + registered guide; one of the darkest accessible overnight points near Leh; take trekking gear for the approach |
|
Nubra Valley (upper) |
Landscape / astro |
3,100 m |
Night for Milky Way; dawn for valley light |
Milky Way over the dunes with Karakoram silhouette; Shyok river reflections |
Lchang Nang Retreat has an excellent private garden for astro setup; no light domes for 30+ km in any direction; best dune Milky Way shot from west side of Hunder dunes |
|
Shanti Stupa |
Architecture / landscape |
3,620 m |
Sunset 7:00–7:40 PM; also pre-dawn for empty shots |
White dome lit by last light over Leh city; full panorama of Stok Kangri and Zanskar Range |
Walk to stupa before 5:30 AM to photograph dawn WITHOUT crowds; sunset is popular — arrive 1 hour early for position; shoot from the road below for full stupa against sky (not from the stupa itself) |
|
Magnetic Hill / Sangam (Indus-Zanskar confluence) |
Landscape |
3,100 m |
Morning 8:00–10:00 AM (best light angle from east) |
Two rivers meeting — one glacial blue, one muddy brown — a natural colour contrast; Zanskar canyon walls |
Take the rafting route for unique water-level shots of the canyon; Magnetic Hill itself is a visual curiosity — worth photographing the signboard and the landscape together |
|
Hemis Monastery (Festival) |
Cultural photography |
3,600 m |
Hemis Festival (June/July, 2 days) |
Monks in silk brocade and animal masks performing Cham dances; crowds in traditional Ladakhi dress |
Arrive 2 hours before the Cham begins; courtyard steps fill fast; 70–200mm to isolate dancers' expressions; shoot wide for context then zoom in; no flash (natural light only) |
|
Diskit Monastery / 32m Maitreya Buddha |
Architecture / landscape |
3,100 m |
Golden hour 6:00–7:00 PM (Buddha faces west — lit at sunset) |
32-metre Maitreya Buddha statue with Karakoram Range behind at golden hour |
Sunset lights the Buddha's face perfectly; shoot from the monastery courtyard below; also visible from the highway across the valley for environmental scale shots |
|
khardung La Pass |
Landscape |
5,359 m |
9:00–11:00 AM (before afternoon cloud) |
Prayer flags against infinite sky; Shyok Valley below at full depth |
Arrive before cloud builds (usually by noon); altitude makes your body slow — move deliberately; protect camera from wind-blown grit; 10-stop ND filter for long-exposure flag motion |
BEST PHOTOGRAPHY LOCATIONS — COMPLETE GUIDE WITH TIMING
Lamayuru is the only place in Ladakh where midday light is your friend. Everywhere else, you chase the golden hour. Here, you set your alarm for 11 AM. The shadows in the clay formations at noon are more dramatic than anything the golden hour produces. Know the exceptions.
Astrophotography in Ladakh — the complete technical guide
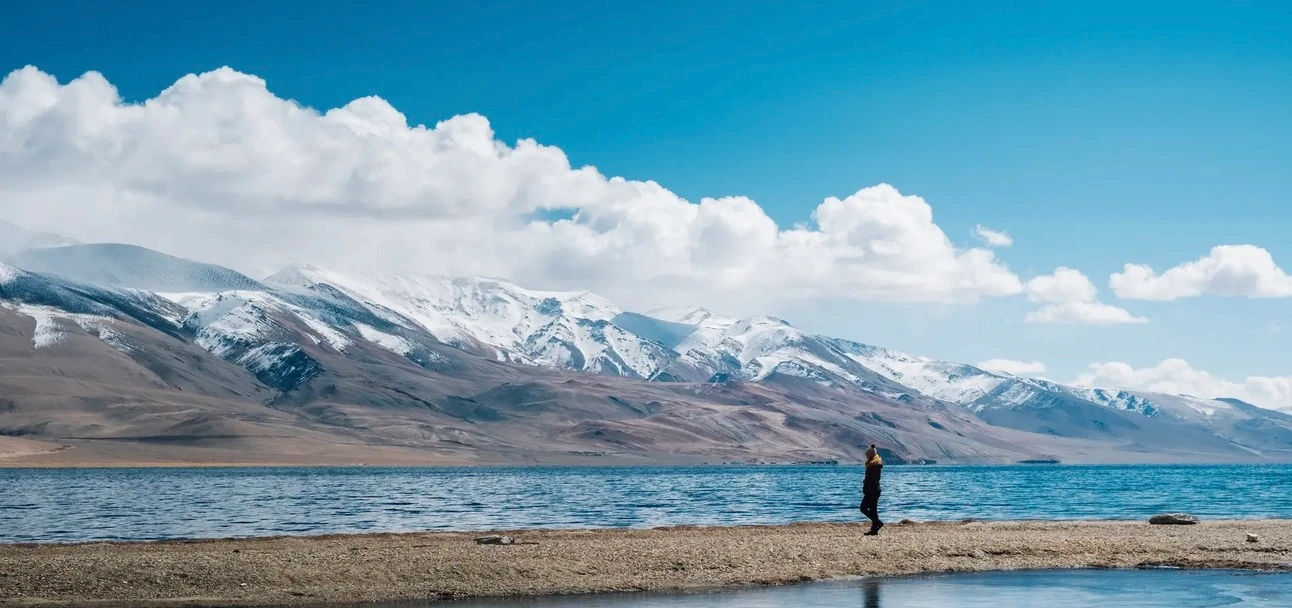
Astrophotography at Ladakh's altitudes is technically different from what you do at sea level, and understanding those differences is the difference between photographs that look impressive and photographs that are.
The fundamental challenge of Milky Way photography is light collection. Stars produce very little light. Your sensor needs to collect as much of it as possible in a short window before the earth's rotation moves the stars and creates trailing. The solution is three-sided: the widest aperture you can get, the highest ISO your sensor handles cleanly, and the longest shutter speed before trailing becomes visible.
The 500 Rule — and why Ladakh photographers modify it
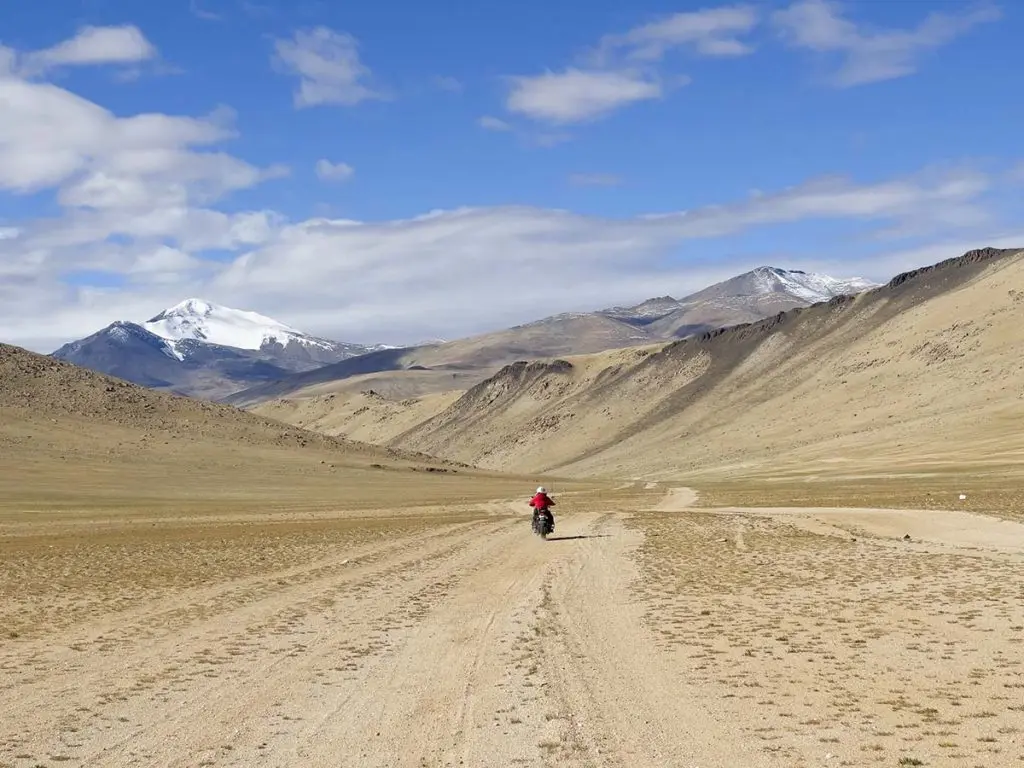
The standard formula: 500 divided by your focal length (in mm) gives you the maximum shutter speed in seconds before star trailing becomes visible. A 14mm lens on a full-frame camera allows 500 ÷ 14 = 35 seconds. A 24mm lens allows 500 ÷ 24 = 20 seconds.
In Ladakh, some experienced astrophotographers use a modified 400 Rule instead. At altitude, the atmosphere is thinner and stars appear sharper — which paradoxically makes trailing more visible at a given shutter speed. Using 400 ÷ 14 = 28 seconds (instead of 35) produces noticeably tighter star points in very dark conditions like Hanle.
The practical workflow: set your aperture to f/2.8 or wider (f/1.8 or f/1.4 if you have the glass), ISO to 3200, shutter to the calculated time. Take a test frame. Zoom to 100% on your rear screen and check a corner star for trailing. If you see ellipses rather than points, shorten the shutter. If the image is too dark and trailing is absent, raise ISO. RAW is non-negotiable — JPEG loses too much shadow and highlight detail in astro work.
Focusing in the dark
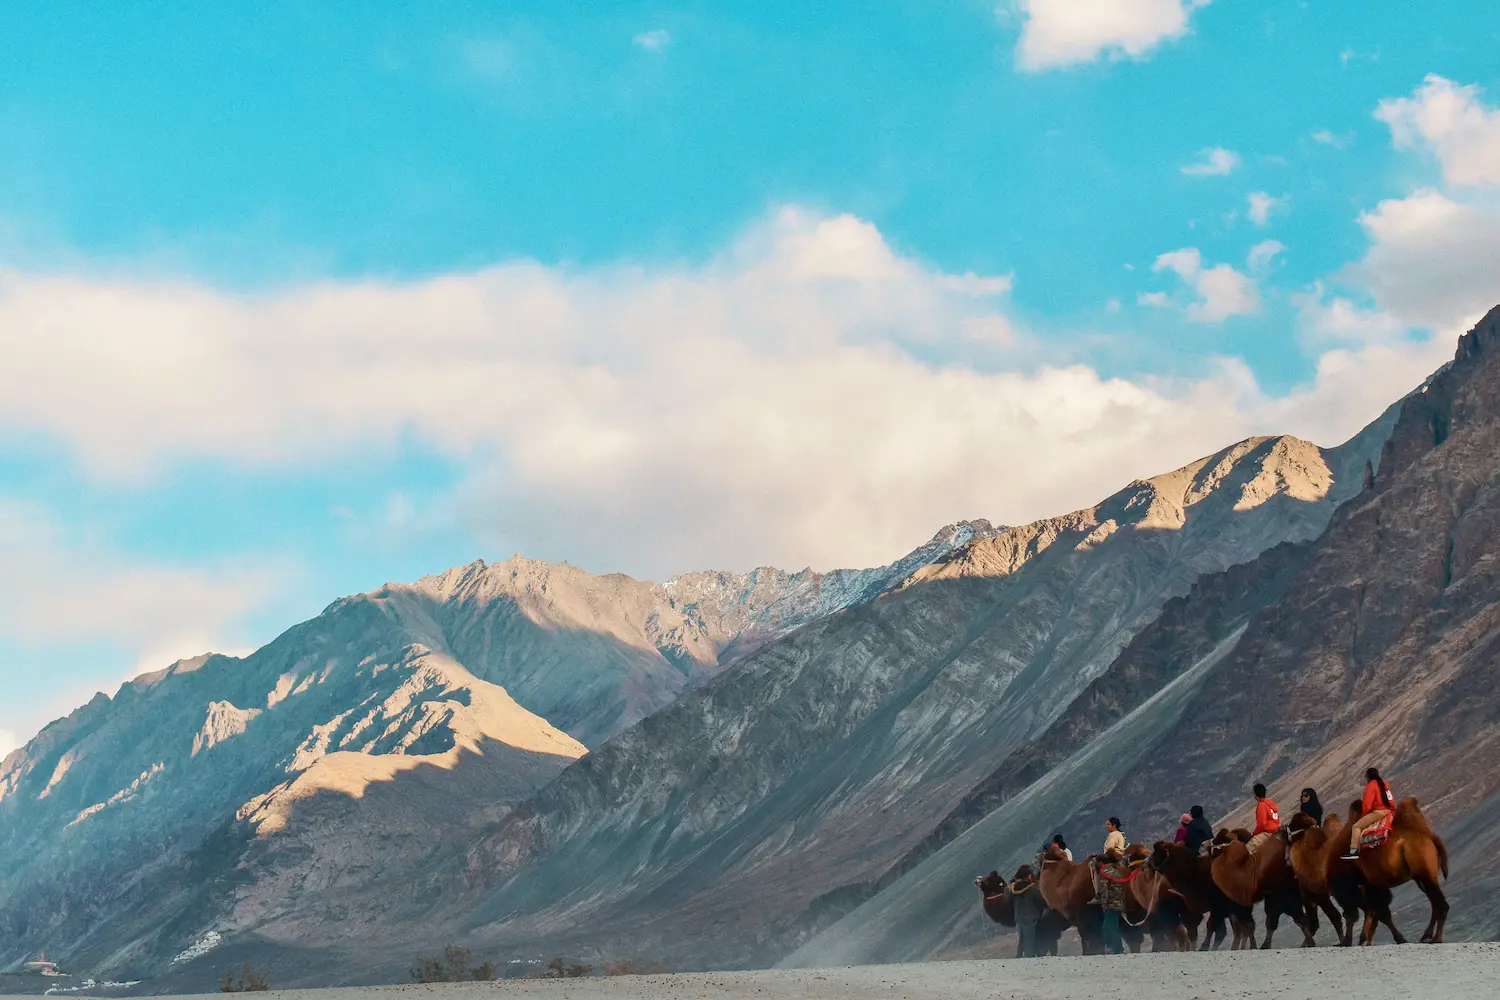
This is where most astrophotography attempts fail. Auto-focus doesn't work on stars. Manual focus in the dark is difficult. The correct method: switch to live view, point at the brightest star or planet visible, magnify to maximum on your screen (usually 10x), and manually rock the focus ring back and forth until the star is its smallest, sharpest point. Then tape the focus ring with a small piece of gaffers tape so it doesn't drift in the cold. Don't change focus until you change location.
A Bahtinov mask — a metal diffraction mask that fits over your lens — makes precise focusing unambiguous by creating a characteristic diffraction pattern that's perfectly symmetrical only at exact focus. They're inexpensive and available online. For any serious astrophotographer, this is not optional kit.
The moon phase — the single most important variable
A full moon over Hanle is bright enough to read by. It is absolutely catastrophically destructive to Milky Way photography. Even at Bortle Class 1 — the darkest sky on earth — a full moon bleaches the sky to the point where the Milky Way becomes invisible to camera sensors.
Plan every astrophotography night around the lunar calendar. New moon is your target — not just the night of new moon, but the 3–4 nights on either side when the moon is a thin crescent that sets before midnight. Use PhotoPills, which shows moon phase and set times for any date and location. This is the most important planning decision of your entire photography trip, more important than which lake you choose or which lens you bring.
Pangong Tso for Milky Way photography
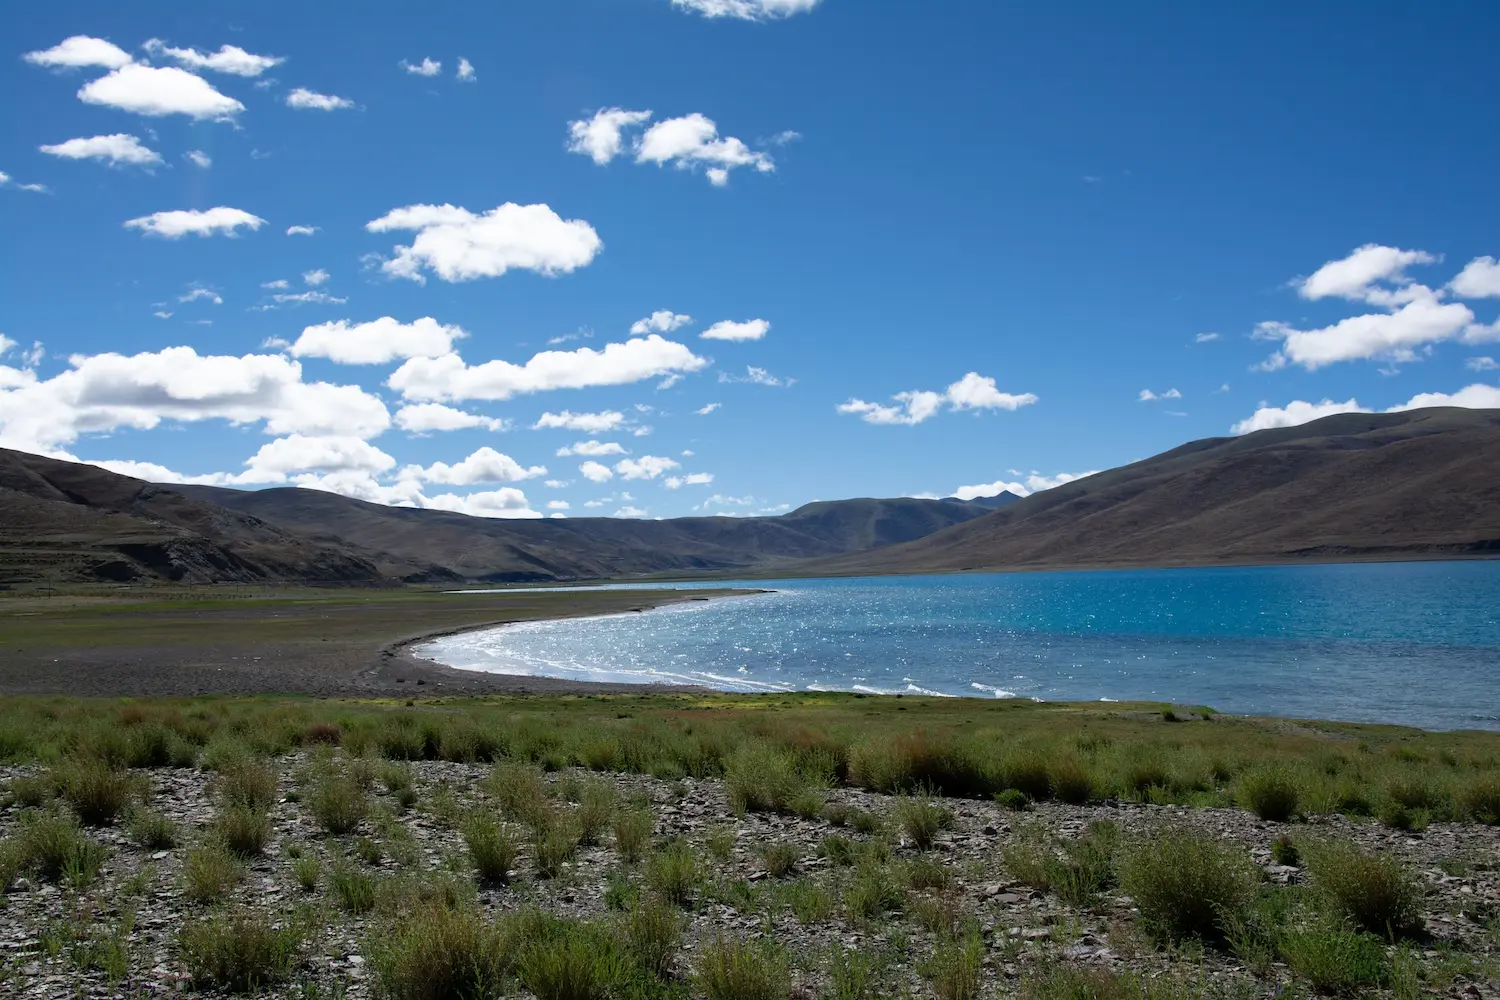
Pangong Tso at midnight, on a new moon night, with the galactic core arching over the Karakoram Range and its reflection in the still lake — this is one of the finest astrophotography scenarios available anywhere in India.
The practical details: stay at Man or Merak villages rather than Spangmik. The camp generators at Spangmik run until 10–11 PM and produce a light dome visible for several kilometres. Man and Merak are farther from the main camp cluster and darker. The wind drops at Pangong between midnight and 3 AM most nights in summer — this is when the lake stills enough for reflections. Check wind speed on the Windy app. A 2-metre-per-second wind is the threshold; above it, the reflection breaks up.
Hanle Dark Sky Reserve — what to actually do there
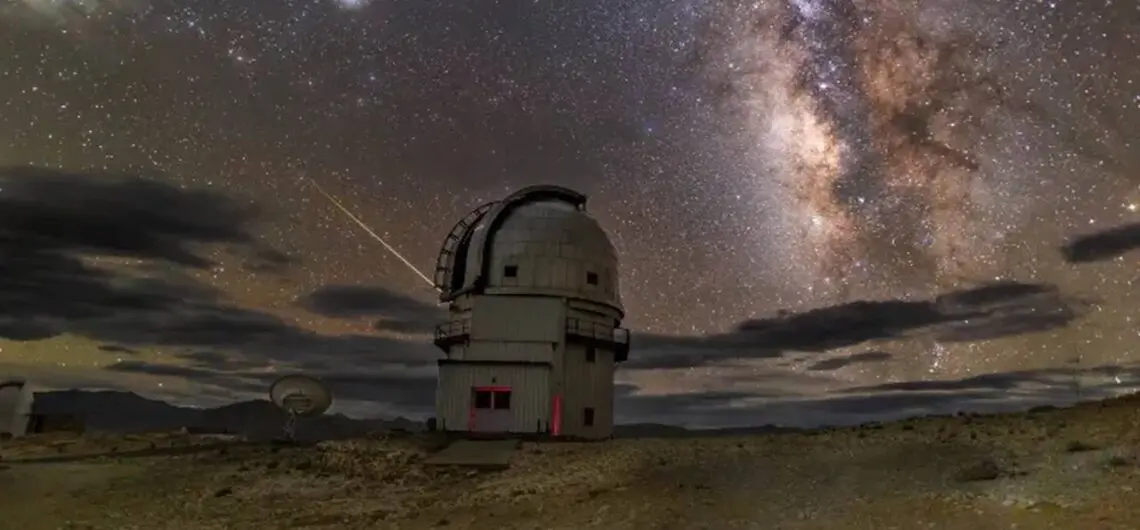
Hanle is India's first officially designated Dark Sky Reserve. The Indian Institute of Astrophysics operates the observatory at 4,500 metres — one of the highest permanent astronomical observatories on earth. The Himalayan Chandra Telescope (2.01 metre diameter) is here for the same reason you should be: the sky above Hanle has Bortle Class 1 darkness, approximately 270 clear nights per year, and virtually zero light pollution in any direction.
The IIA has trained 40+ local Ladakhi residents as Astronomy Ambassadors. These are certified guides with 8-inch telescopes at their homestays, trained to point out Saturn's rings, nebulae, the Andromeda Galaxy, and the Milky Way's structure while sharing Changthang folklore about the stars. Book one through your operator or directly through a Hanle homestay. The session costs ₹1,500–3,000. It's one of the most genuinely moving experiences available in Indian travel, and the photographs you make alongside it will be unlike anything you've shot before.
For your own photography setup: bring your tripod, your widest lens, and fully charged batteries in your jacket pockets. No white headlamp light is permitted near the DSR during astronomical sessions — red mode only. Arrive at your shooting location before dark to set up while you can still see. The first hour of true darkness — astronomical twilight ends about 90 minutes after sunset — is often the most dramatic, when the sky still has the faintest blue in the west and the stars are emerging.
| SHOT TYPE | APERTURE | ISO | SHUTTER SPEED | NOTES |
|---|---|---|---|---|
|
Milky Way wide (single frame) |
f/1.4–f/2.8 |
ISO 3200–6400 |
15–25 sec (use 500 Rule: 500 ÷ focal length) |
Start at f/2.8, ISO 3200, 20 sec; review for star trailing and noise; adjust from there; always RAW |
|
Milky Way with star tracker |
f/2.8 |
ISO 800–1600 |
120–180 seconds |
Star tracker eliminates trailing; lower ISO = cleaner image; allows stacking multiple frames for noise reduction |
|
Milky Way + lake reflection |
f/2.8 |
ISO 3200 |
20 sec |
Wait for wind to drop completely; any ripple destroys the reflection; midnight–3 AM usually calmest at Pangong |
|
Milky Way panorama |
f/2.8 |
ISO 3200 |
20 sec per frame |
Shoot 5–8 overlapping frames; stitch in Lightroom or Autopano Giga; produces massive detail across full sky arc |
|
Star trails (30-min exposure) |
f/8 |
ISO 400 |
30 minutes (single long exposure) |
Use Bulb mode + remote shutter; dark the LCD to save battery; trails create dramatic circular patterns around Polaris if facing north |
|
Star trails (stacked) |
f/4 |
ISO 800 |
60 × 30 sec = 30 min equivalent |
Stack in StarStax or Sequator; easier to manage exposure; cloud or plane passing ruins one frame not all |
|
Golden hour landscape |
f/8–f/11 |
ISO 100–200 |
1/125 to 1/500 sec (handheld) |
Use histogram; Ladakh's high-altitude light is 40% more intense — underexpose by 1/3 stop from meter reading; graduated ND filter for sky/ground balance |
|
Dawn reflection |
f/11 |
ISO 100 |
1/30–1/125 sec on tripod |
Wait for still water; circular polariser deepens water colour; shoot just as sun crests the ridge (first light is warm and directional) |
|
Monastery interior (dim light) |
f/1.8–f/2.8 |
ISO 1600–3200 |
1/30–1/60 sec (handheld with stabilisation) |
No flash — ever; raise ISO rather than use flash; image stabilisation essential at these shutter speeds; get permission before entering prayer halls with camera |
|
Moonlit landscape |
f/4 |
ISO 400–800 |
30 sec–2 min |
Full moon provides 1–2 stops of light even without additional lighting; creates 'daytime blue' tonality; great for Pangong moonrise shots |
|
Lightning + mountains (monsoon edge) |
f/8 |
ISO 200 |
Bulb (wait for lightning to fire) |
Use remote shutter in Bulb; point at storm over a distant ridge; 10–30 second windows; keep camera dry |
|
Wildlife (marmots, kiangs, flamingos) |
f/5.6–f/8 |
ISO 400–1600 |
1/500–1/2000 sec |
Telephoto 400–600mm for kiangs and flamingos; marmots are tame enough for 200mm approach; shoot at eye level not standing above |
CAMERA SETTINGS REFERENCE — EVERY SITUATION
Auto-focus doesn't work on stars. Manual focus in Hanle at midnight, at −3°C, with numb fingers, is the skill that separates the photographs you've seen of Ladakh's sky from the ones you've taken. Learn it in your hotel room on Day 2. Use it on Day 7 at the Dark Sky Reserve.
The gear you actually need
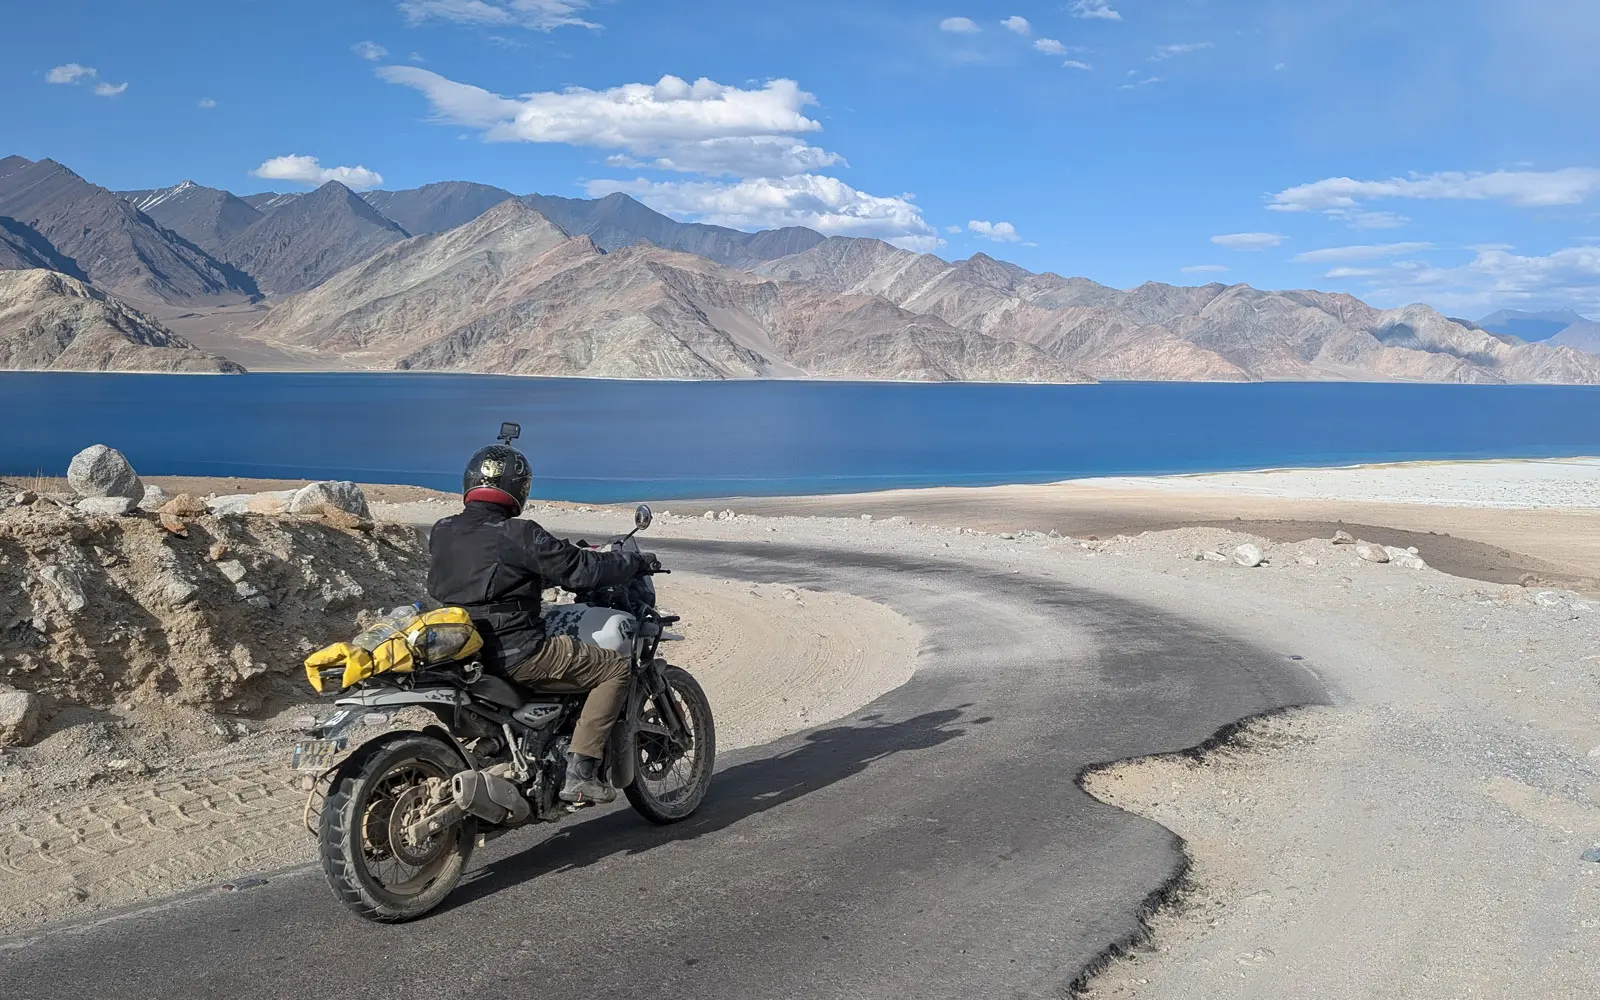
There are two equipment mistakes photographers make in Ladakh. The first is under-packing — assuming the same kit that works in the plains will work here. The second is over-packing — bringing so much heavy glass that the altitude makes every morning walk a physical ordeal.
The practical kit for a combined landscape and astrophotography trip is: one weather-sealed full-frame mirrorless body (full-frame for ISO performance); a backup body (any system with RAW and manual exposure); a 14–24mm f/2.8 wide-angle (or a 14mm f/1.8 prime); a 70–200mm f/2.8 for monasteries and wildlife; and a carbon-fibre tripod with a ballast hook. That's the foundation. Everything else is enhancement.
The batteries issue is genuinely critical. Cold and altitude together drain power 30–40% faster than normal. A battery that lasts 400 shots at sea level in warm conditions will last perhaps 250 at Pangong in the early morning. Carry four spares per body. Keep two in your inner jacket pocket during shoots to maintain their operating temperature. Rotate them in and out every 30–40 minutes if it's cold.
Dust is the other constant challenge. Ladakh's roads kick up exceptional quantities of fine dust that settles on lens elements within minutes of exposure. Never change lenses in the open air. Change them inside your vehicle with the windows up, or inside a large ziplock bag. Carry a rocket blower and use it on your front element before every shoot. A UV filter on each lens is not optional — it protects the glass and reduces the atmospheric haze that Ladakh's combination of altitude and dust produces.
| ITEM | SPECIFICATION / NOTES | WHY IT MATTERS IN LADAKH |
|---|---|---|
|
Camera body (primary) |
Full-frame mirrorless or DSLR with weather sealing and RAW support; Sony A7 series, Nikon Z6/Z7, Canon R5/R6, Fuji XT5 all widely used |
Full-frame sensor handles high ISO noise significantly better than APS-C — critical for astrophotography at ISO 3200–6400 |
|
Camera body (backup) |
Any mirrorless or DSLR with manual mode |
At remote locations like Hanle and Tso Moriri, a failed primary body with no backup means missing shots that cannot be repeated |
|
Wide-angle lens (primary) |
14–24mm f/2.8 or 14mm f/1.8 prime (full-frame) |
Essential for Milky Way (maximum sky coverage) and for landscape shots at Pangong, Nubra, and passes |
|
Standard zoom / telephoto |
24–70mm f/2.8 and/or 70–200mm f/2.8 |
70–200mm for monastery architecture detail, monk portraits, Maitreya Buddha face isolation; 24–70 for travel street work |
|
Telephoto (wildlife option) |
100–400mm or 150–600mm |
Useful for flamingos at Tso Moriri, kiangs at Hanle, marmots, and snow leopard territory (Hemis NP); not essential if wildlife is not a primary goal |
|
Tripod |
Carbon fibre travel tripod with centre-column ballast hook; minimum 5kg payload |
Carbon fibre stays manageable in cold; ballast hook is essential — Ladakh wind can topple a heavy steel tripod; mandatory for all astro and golden-hour long-exposure work |
|
Ball head |
Arca-Swiss compatible; fluid head if doing video |
Smooth panning for monastery interiors; precise levelling for astro panoramas |
|
Batteries (spare) |
Minimum 4 spares per camera body |
Cold + altitude drains power 30–40% faster than normal; remote locations have no charging option; keep spares in inner jacket pocket to maintain temperature |
|
USB power bank |
20,000 mAh minimum |
For charging batteries and phone in camps and homestays where generator runs limited hours (usually 7–10 PM only) |
|
Memory cards |
Minimum 128 GB total; multiple cards preferred over one large one |
RAW files are large (30–80 MB each); card failure at Hanle means lost shots; multiple cards reduce single-point-of-failure risk |
|
Graduated ND filter |
2-stop or 3-stop ND Grad (screw-in or slot-in for your widest lens) |
Balances bright sky against dark foreground at dawn/dusk; essential for Pangong dawn reflections where sky is 3–4 stops brighter than water |
|
Circular polariser |
For widest lens and 70–200mm |
Deepens the blue of Pangong and Tso Moriri remarkably; reduces glare on snow; increases colour saturation in desert landscapes |
|
UV filter |
For every lens |
UV radiation at 3,500m+ is 40% stronger than at sea level; UV filter protects front element AND reduces atmospheric haze in mountain shots |
|
Lens cleaning kit |
Rocket blower, lens pen, microfibre cloth |
Ladakh roads are extremely dusty; dust settles on lenses within minutes; blower essential before every sensor-exposed lens change |
|
Headlamp (red mode) |
Red light mode mandatory for DSR use |
White headlamp light ruins your own night vision and disrupts other astrophotographers; red mode allows settings adjustment without sky contamination |
|
Star tracker (optional) |
iOptron SkyGuider Pro or Sky-Watcher Star Adventurer |
Allows 2–3 minute exposures without star trailing; produces dramatically cleaner images at lower ISO; substantial upgrade for serious astrophotographers |
|
PhotoPills / Stellarium app |
Essential planning apps (download offline maps before departure) |
PhotoPills: AR overlay showing exactly where Milky Way core will be at any time/location; Stellarium: real-time planetarium view; Windy: cloud cover forecast; critical for night planning in areas with no signal |
|
Laptop for backup and editing |
15-inch; download Lightroom or Capture One offline |
Back up every shoot to laptop AND secondary drive; editing in the field means you know what you have before moving on |
COMPLETE GEAR CHECKLIST — LADAKH PHOTOGRAPHY TOUR
The 10-day photography itinerary
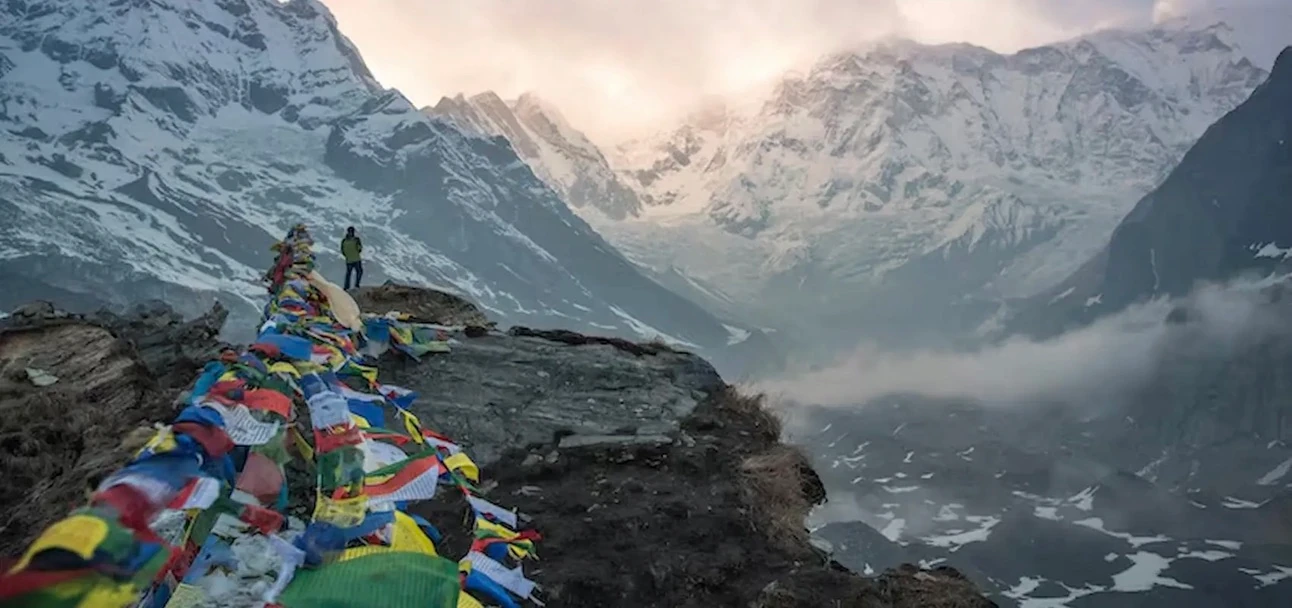
The itinerary below is built around photography timing, not sightseeing convenience. It means early starts and late nights. It means staying somewhere for its darkness and not its wifi. It means the Milky Way session at Pangong and the dawn at Thiksey are the schedule, and everything else fits around them.
| DAY | BASE | SHOOT | TIMING | NOTES |
|---|---|---|---|---|
|
Day 1 |
Leh (arrive, acclimatise) |
No shooting — rest. Evening: Shanti Stupa for sunset light familiarisation only |
Arrive by noon; no exertion |
Altitude is 3,524m. Camera out for casual shots only. Do not chase golden hour on Day 1. |
|
Day 2 |
Leh |
Morning: Leh Palace from Tsemo ridge; Namgyal Tsemo Monastery at dawn. Afternoon: Leh market lanes. Evening: Shanti Stupa sunset |
Dawn 5:00 AM; sunset 7:00 PM |
This is your acclimatisation + equipment test day. Check all gear functions, test astro settings on a dark rooftop after 10 PM. |
|
Day 3 |
Leh / Thiksey area |
Pre-dawn drive to Thiksey (17 km from Leh); 6 AM monastery shoot; morning prayer session photography; Stakna Monastery afternoon |
Leave Leh 5:30 AM for Thiksey dawn |
Thiksey faces east — first light hits at 6:15–6:30 AM in summer. Shoot from the road below for the full 12-storey elevation shot. |
|
Day 4 |
Nubra Valley (overnight) |
Cross Khardung La (photography at 5,359m summit, 9–11 AM before cloud); Diskit Monastery; Hunder dunes at golden hour |
Khardung La: 9–11 AM; Dunes golden hour: 6 PM |
Keep camera in bag inside vehicle between shooting sessions — temperature swings between Khardung La (freezing) and Nubra valley (warm) cause condensation |
|
Day 5 |
Nubra Valley / Turtuk |
Hunder dunes dawn light; Bactrian camels; drive to Turtuk village (northernmost accessible village); Shyok River bends |
Dawn 5:15 AM at dunes; Turtuk by 10 AM |
Turtuk has extraordinary Balti architecture and apricot orchards — one of Ladakh's most photographically rich villages; 2-hour drive from Hunder; worth every km |
|
Day 6 |
Pangong Tso (overnight) |
Arrive Pangong by 2 PM; afternoon colour-change sequence on the lake; sunset; midnight–3 AM Milky Way astro session over the lake |
Arrive by 2 PM; sunset 7:30 PM; astro midnight–3 AM |
CONFIRM moon phase before this night — if full moon, skip the astro session and plan Milky Way for Hanle instead. Stay at Man/Merak for darker skies. |
|
Day 7 |
Pangong → Hanle or Tso Moriri |
Dawn at Pangong (5:30 AM); drive south via Chushul to either Hanle (for DSR astro) or Tso Moriri (for remote lake) |
Dawn 5:30 AM; Hanle arrives ~4 PM |
Hanle: arrive before dark; set up with Astronomy Ambassador; spend the night under Bortle-1 skies. Tso Moriri: dawn light on Korzok glacier reflection is outstanding. |
|
Day 8 |
Return to Leh |
Drive back via Indus Valley road; Sangam (Indus-Zanskar confluence) for river photography; Alchi Monastery interior light |
Sangam: mid-morning 9–11 AM; Alchi: 10 AM–12 PM |
Alchi has extraordinary 900-year-old murals painted by Rinchen Zangpo's artists — dim interior; f/1.8 prime, ISO 1600, no flash, ask permission first |
|
Day 9 (optional extension) |
Leh / Lamayuru |
Drive to Lamayuru (130 km, 3 hrs); moonland clay formations at midday; monastery at golden hour |
Lamayuru 11 AM–2 PM for moonland; monastery 6 PM |
One of the most unusual landscape photography locations in all of India — midday light is the correct choice here, uniquely among Ladakh locations |
|
Day 10 (optional extension) |
Hemis / Stok Kangri base |
Hemis Monastery and surrounding village; optional acclimatised trek toward Stok Kangri base for high-altitude night shoot |
Any time for Hemis; Stok Kangri: depart 3 PM, arrive base camp 6 PM |
Stok Kangri base camp gives clearest possible sky closest to Leh — at 4,900m, atmospheric interference is minimal; acclimatisation essential before attempting |
DAY-BY-DAY PHOTOGRAPHY ITINERARY — 10 DAYS
Cultural and portrait photography — the conversation first
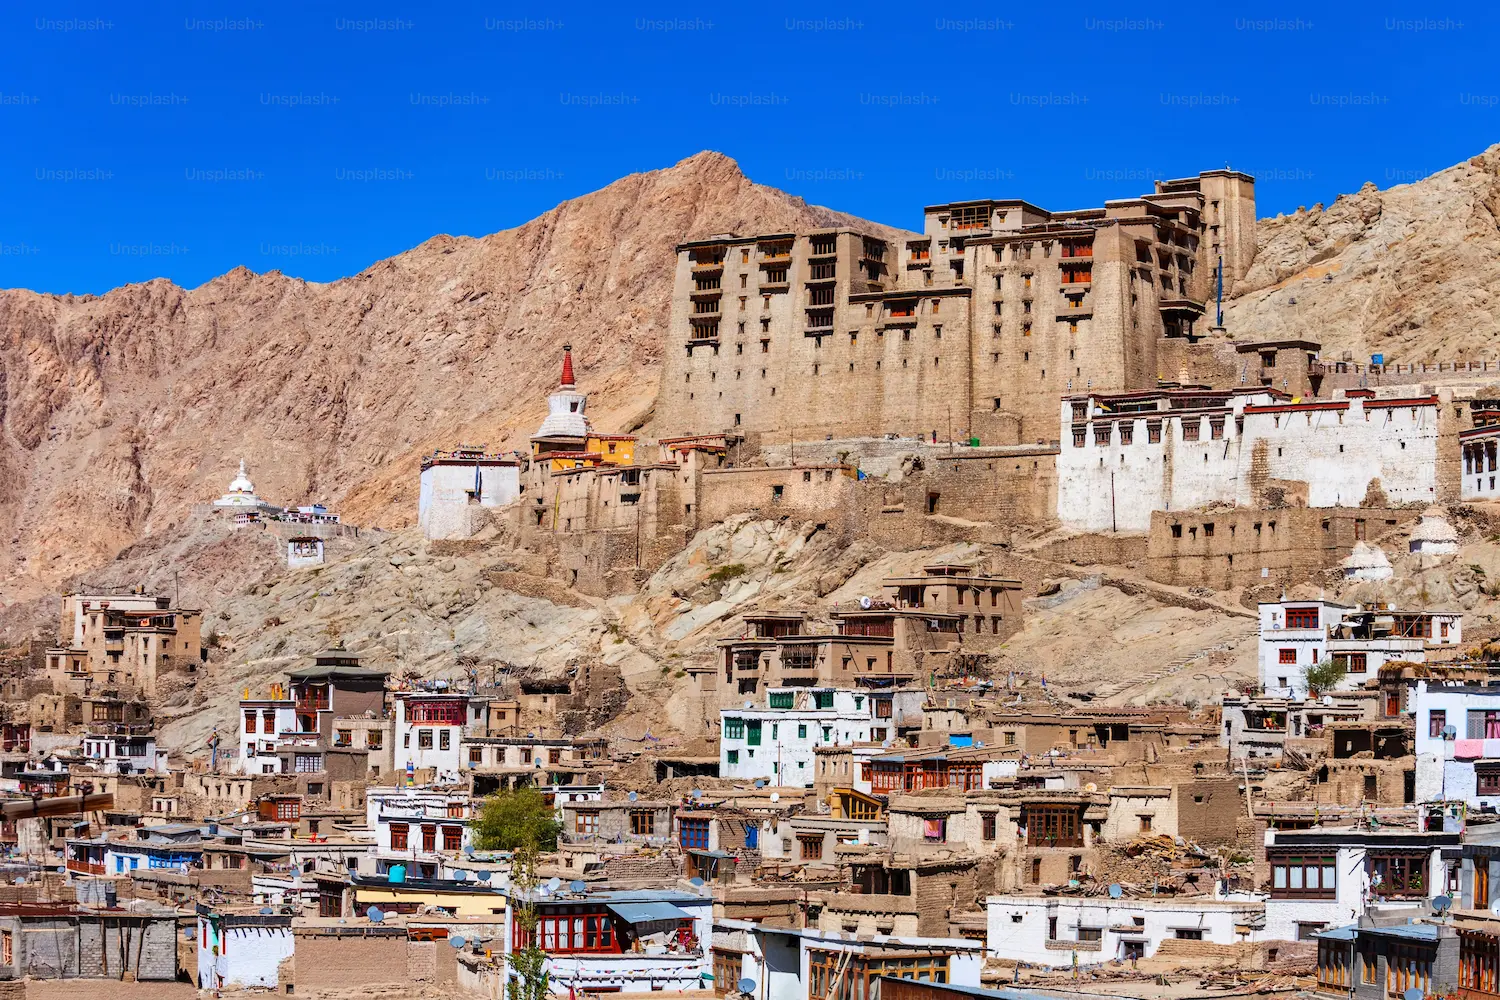
robes at morning prayer, Changpa nomads with their pashmina herds on the Changthang plateau, Ladakhi women in traditional perak headdresses at festival gatherings, and Balti families in the apricot orchards of Turtuk..
The rule is simple and I hold to it: ask first, every time, without exception. Not because it's required by any regulation, but because the person you're photographing has a right to consent to their own image. In practice, Ladakhis are among the most open and friendly communities I've encountered anywhere — a smile, a gesture toward the camera, and a questioning look almost always produces a nod and then a genuinely natural portrait. What it doesn't produce is the wary, self-conscious expression of someone who feels ambushed.
At monasteries, the protocols are stricter. No photography inside prayer halls during active puja — the monks are at worship, not at a photo call. No flash inside any monastery interior at any time. In some monasteries (Hemis, Thiksey), photography permits are available for a small fee; buy them without argument. The interior light at a monastery like Alchi — 900-year-old murals painted by Rinchen Zangpo's Kashmiri artists, dimly lit by butter lamps — is the most challenging and rewarding available-light photography situation in Ladakh. A fast f/1.8 prime at ISO 1600 and 1/30th of a second is the right approach. Get permission first.
Post-processing for Ladakh images
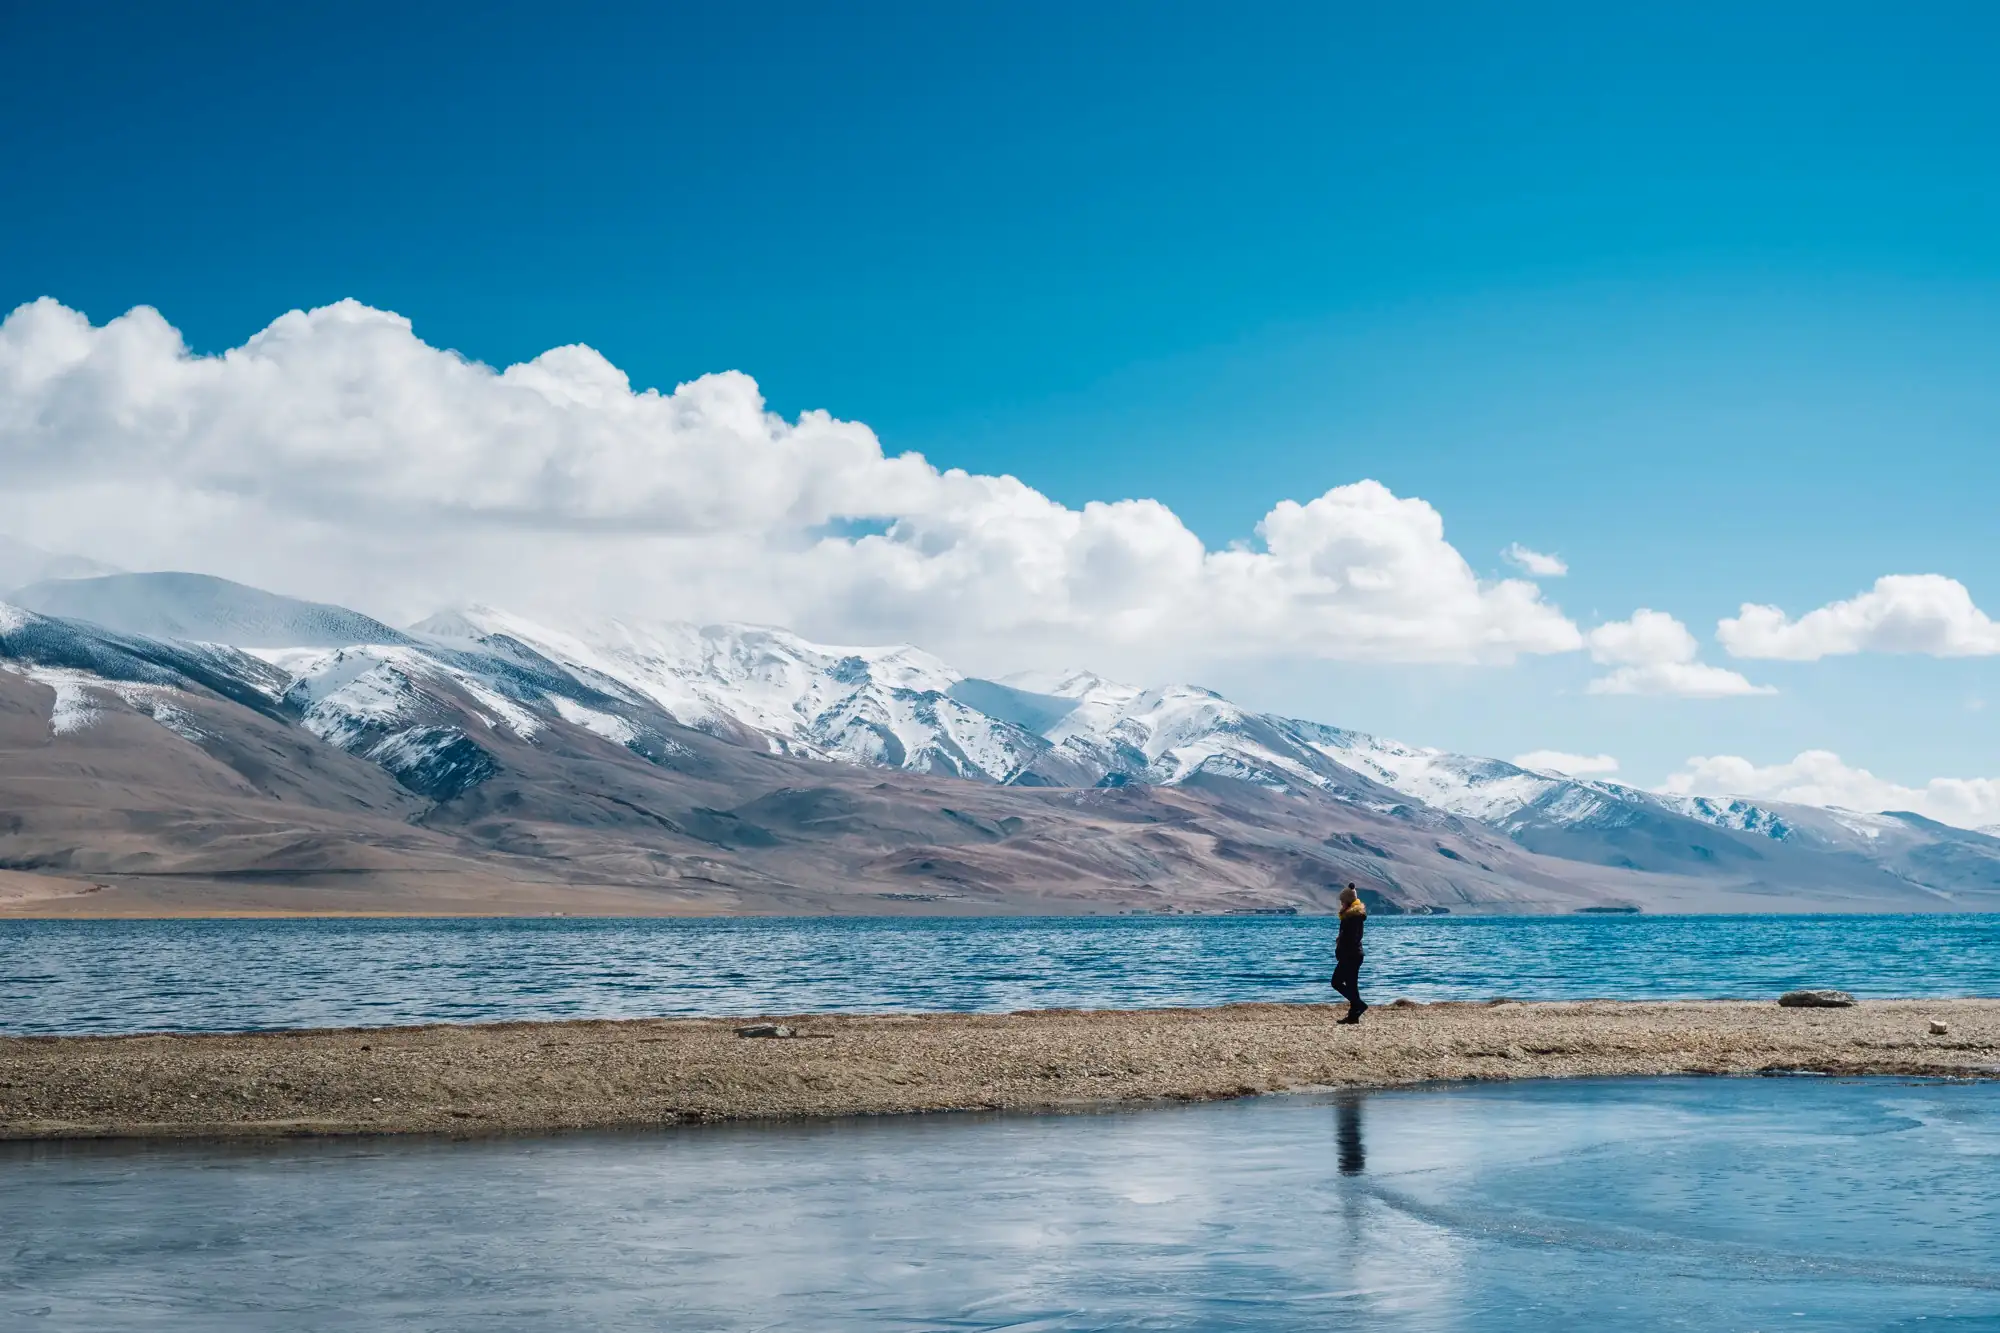
Ladakh's high-altitude light creates specific post-processing considerations that are different from lower-altitude photography.
The sky is often too blue and too bright relative to the foreground. A graduated ND filter in-camera reduces this during capture; in Lightroom, the Graduated Filter tool applied to the sky and reduced in exposure by 1–2 stops is the correction. The dehaze slider (set to +15 to +25) recovers foreground detail that altitude haze obscures — particularly on shots toward distant peaks.
For astrophotography, the basic Lightroom workflow: increase Exposure +0.5 to +1 stop; reduce Highlights −50; increase Shadows +40; increase Clarity +20; use the HSL panel to shift the sky toward a deeper blue-black; reduce the green channel luminosity to remove the noise pattern specific to high-ISO green-channel data. For serious astrophotographers, Sequator (free) or DeepSkyStacker stacks multiple exposures to dramatically reduce noise — 20 frames at ISO 3200 stacked produces a result equivalent to a single frame at ISO 200 with a star tracker.
The most important post-processing rule: shoot RAW. The JPEG compression in camera throws away exactly the data you need to recover shadow detail in the monastery interiors, highlight detail in the blown-out Ladakh sky, and colour gradation in the Milky Way's dust lanes. RAW gives you the full 14 bits of sensor data. That's what Lightroom and Capture One work with. That's what separates the good from the extraordinary in Ladakh photography editing.
Planning your photography tour with BizareXpedition
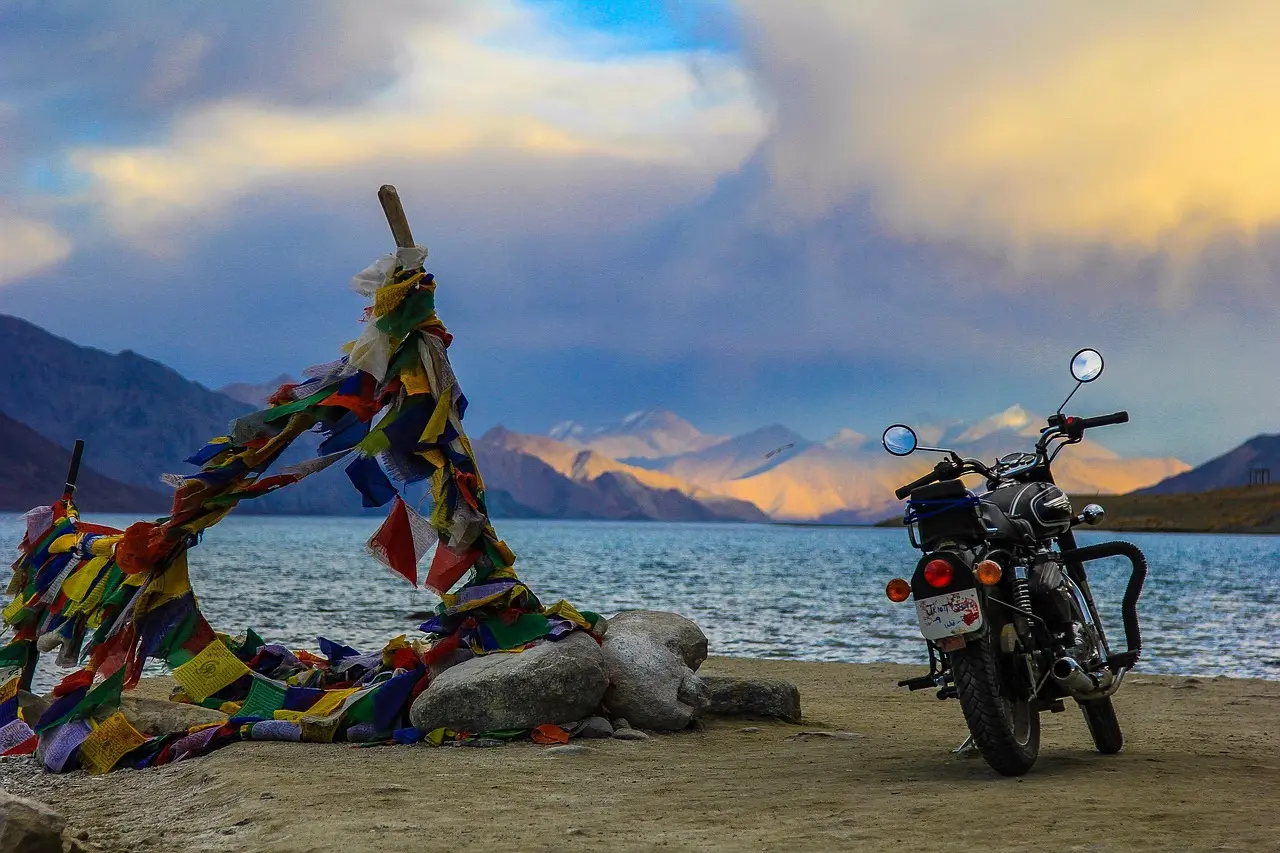
The logistics of a Ladakh photography tour are more specific than a general sightseeing trip. Your driver needs to understand that the Thiksey shoot means leaving Leh at 5:30 AM, not 8 AM. Your accommodation at Pangong needs to be at Man or Merak, not Spangmik, and the reason needs to be understood. Your Hanle night needs to be on a new moon date, which means the trip dates are set by the lunar calendar first and other convenience second.
BizareXpedition™ Services Pvt. Ltd. (bizarexpedition.com), based in Haridwar and specialising in Himalayan journeys of every kind, builds photography-specific Ladakh itineraries that sequence every element correctly. The drivers they work with understand what golden hour means operationally. The Astronomy Ambassador connections in Hanle are pre-arranged. The accommodation choices are made for dark sky access rather than wifi strength. And the moon phase calendar is the first document the team looks at when a photography trip is planned, not an afterthought.
Whether you're a first-time photographer wanting to capture the Milky Way over Pangong for the first time, or a serious astrophotographer planning a dedicated dark-sky circuit through Hanle, Tso Moriri, and Stok Kangri base camp — the team builds the programme around your specific photographic goals, not a generic itinerary.
| ITEM | NOTES |
|---|---|
|
Moon phase calendar |
Check before booking — new moon nights ONLY for Milky Way; plan Hanle and Pangong astro nights around lunar calendar; PhotoPills shows exact moon phase for any date |
|
PhotoPills / Stellarium |
Download offline data before leaving Leh; use AR mode in PhotoPills to preview exactly where Milky Way core will appear at any location and time |
|
Windy app (cloud forecast) |
Best cloud cover forecasting app for Ladakh; Hanle and Changthang get occasional night cloud — check 48 hrs ahead; clear sky is non-negotiable for astrophotography |
|
EDF (Environment Fee) |
Pay at lahdclehpermit.in before travel; print 5–6 copies per person; needed for Nubra, Pangong, Tso Moriri, Hanle; carry always |
|
Battery management |
Minimum 4 spares per body; keep 2 inside jacket during shoots; charge all in hotel generator hours (7–10 PM typically); power bank for off-grid charging |
|
Sensor dust check |
Ladakh dust is pervasive; shoot a clear sky at f/16 on arrival to check sensor for dust; clean with rocket blower if needed; change lenses in car only |
|
Condensation protocol |
Seal camera body and lenses in ziplock bag before entering warm room/tent/vehicle; wait 30 min before opening; skipping this step causes internal condensation that fogs lens elements |
|
Red headlamp only at DSR |
White light at Hanle Dark Sky Reserve is strictly prohibited during astro sessions; headlamps must be switched to red mode; Astronomy Ambassador will enforce this |
|
Portable hard drive (backup) |
Copy every day's shoot to laptop AND portable hard drive; treat the two as primary and offsite backup; remote Ladakh is not the place to discover card failure |
|
Silica gel |
Pack 5–6 sachets in camera bag; Ladakh humidity varies dramatically between passes and valley floors; silica absorbs moisture during transit |
|
Warm shooting gloves |
Fingerless or convertible gloves; operating camera controls at −5°C without gloves causes rapid numbness; mistakes in settings become more common with cold hands |
|
Location scouting (daylight) |
Always visit your planned night-shoot location in daylight; check for uneven ground (tripod hazard in the dark), generator noise sources, and light pollution sources you couldn't see in research |
PRACTICAL CHECKLIST — LADAKH PHOTOGRAPHY TOUR
| CATEGORY | BUDGET | MID-RANGE | SERIOUS PHOTOGRAPHER |
|---|---|---|---|
|
Accommodation (per night) |
₹1,200–2,500 (guesthouse; homestay) |
₹3,500–7,000 (boutique hotel or camp) |
₹8,000–20,000 (Grand Dragon; Chamba Camp; Lchang Nang) |
|
Private SUV (per day) |
₹4,500 (Scorpio, shared between 3–4) |
₹5,500 (Innova Crysta, shared) |
₹6,500 (dedicated Innova; flexible dawn/dusk departure times essential for photography) |
|
Astronomy Ambassador session |
₹1,500 |
₹2,000–3,000 (private session with telescope) |
₹3,000–5,000 (extended session + early access to IAO viewpoint) |
|
Photography guide / assistant |
— |
₹1,500–2,500/day (local photography-aware guide) |
₹3,000–5,000/day (specialised photo guide who knows timing, location, and can carry gear) |
|
Gear (own) |
Any DSLR/mirrorless with kit zoom |
Mirrorless + 16–35mm f/2.8 + 70–200mm |
Full-frame mirrorless + 14mm f/1.8 + 24–70 f/2.8 + 100–400mm + star tracker |
|
Gear rental (Leh market) |
Limited options; basic tripods ₹500–800/day |
Some Leh operators offer lens rental; confirm availability before depending on it |
Bring your own for any critical glass; rental stock in Leh is limited and condition variable |
|
Permits (EDF, 7-day trip) |
₹590/person |
₹590/person |
₹590/person — same for all |
|
Total per day (excl. flights) |
₹3,500–6,000 |
₹7,000–12,000 |
₹15,000–30,000+ |
BUDGET GUIDE — LADAKH PHOTOGRAPHY TRIP
At 1 AM in Hanle, after two hours of astrophotography, I made the mistake of looking up without the camera. Just looking. The Milky Way was arched completely overhead, dense enough to have texture with the naked eye. The Andromeda Galaxy was visible without optical aid — a smudge of light from 2.5 million light years away, seen from a homestay courtyard in the Changthang plateau by a photographer who had packed the right lens but forgotten, briefly, to use it. Some things you don't photograph. You just look
Best Selling Tour Packages
Explore other exciting options for your next adventure!